
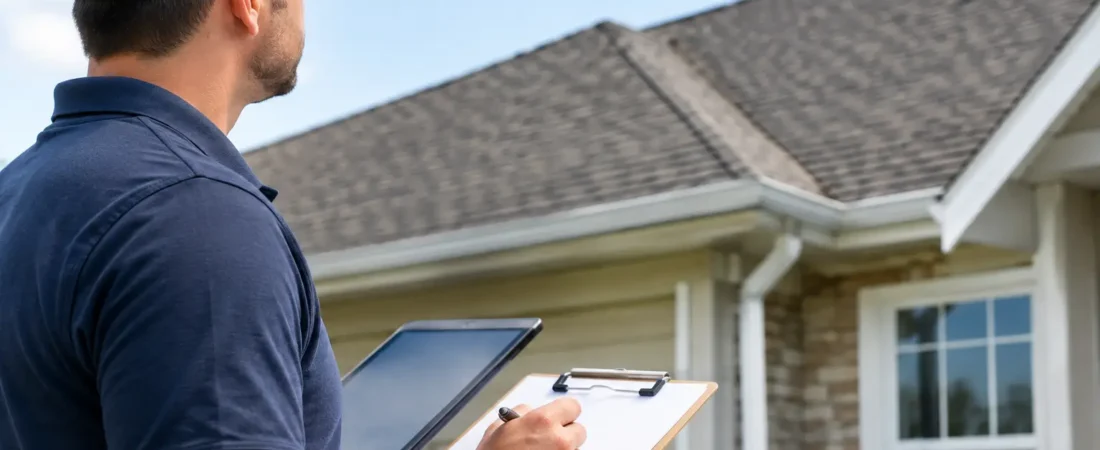
A roof claim can turn on details that are easy to lose in the first stressful hours after a storm or leak. Knowing how to prepare an insurance roof claim means preserving evidence, limiting further damage safely and giving your insurer a clear account of what happened – without guessing at the cause or agreeing to work too quickly.
For homeowners, landlords and commercial property owners, the strongest claim file is usually not the longest one. It is the one that clearly connects a sudden insured event to visible roof damage, supporting photographs, repair estimates and an independent roof condition report where needed.
How to prepare an insurance roof claim before repairs begin
Start by checking whether there is an immediate safety risk. Loose slates, cracked roof tiles, displaced flashing, fallen branches and water entering the building may require urgent attention. Keep people away from unsafe areas and arrange sensible temporary protection, such as a professional tarpaulin installation, where this can prevent additional water damage.
Do not carry out permanent repairs before the insurer has had a chance to assess the damage, unless they specifically authorise it. Replacing damaged tiles, stripping sections of covering or removing failed flashing too early can make it harder to show the original condition. Emergency measures are different: insurers generally expect reasonable action to reduce ongoing loss. Keep every invoice for emergency call-outs, materials and temporary works.
Before anyone touches the roof, create a record from ground level and from inside the property. Photograph water staining, active drips, damaged ceilings and any debris that may have fallen. Outside, photograph missing or slipped roof coverings, damaged gutters, flashing, chimney areas and any fallen branches. Use wide shots to show location, then closer images to show the defect. Set your phone to retain the date and time where possible.
Avoid climbing onto a damaged roof to gather evidence. Wet coverings, storm damage and concealed weak points create a real fall risk. A specialist inspection can document inaccessible areas safely, including with drone imagery where appropriate.
Check what your policy is likely to cover
Read the policy schedule and wording before presenting the claim as a certainty. Cover varies, but policies often distinguish between sudden storm damage and gradual deterioration. A roof that fails during high winds may be covered if the event caused the damage. A long-standing defect, worn felt, aged sealant or lack of maintenance may be excluded, even if the problem only became obvious during bad weather.
This distinction is why the cause matters as much as the visible result. Water marks on a ceiling do not automatically prove storm damage. The insurer may need to establish whether water entered through a newly displaced tile, failed flashing, damaged rooflight, blocked valley or an older defect that had been allowing water in over time.
Look for the policy excess, any storm-damage conditions, limits for alternative accommodation or business interruption, and the insurer’s requirements for notification. If the property is let, check whether the policy is held by you, a managing agent or a freeholder. For commercial premises, confirm who is responsible for the roof under the lease.
Report the incident promptly and factually
Contact the insurer or broker as soon as practical. Give a straightforward timeline: the weather or event you observed, when you first noticed the damage, where water entered and what temporary action was taken. Do not speculate about hidden causes. If you are unsure, say that a roof inspection is being arranged to establish the source and extent of the damage.
Ask for a claim reference number and write down the name of the person you speak with, the date, the time and any instructions provided. Confirm whether the insurer wants to appoint its own assessor, whether emergency works need approval and what documents it requires before considering settlement.
Keep all communication in one place. A simple claim folder should include photographs and videos, policy documents, emails, call notes, invoices, estimates and the roof report. This makes it easier to answer follow-up questions and avoids conflicting versions of events later.
Get a roof-specific inspection report
A detailed roof inspection can bring clarity when damage is not obvious from the ground, when the source of a leak is disputed or when the insurer needs technical evidence. The purpose is not to promise an outcome. It is to document the roof’s condition accurately and explain the probable mechanism of failure based on observed evidence.
A decision-ready report should identify the roof areas inspected, the covering type, visible storm-related defects, pre-existing deterioration where present, moisture entry points and recommended repair scope. Clear, labelled photographs are particularly useful. They allow an insurer, loss adjuster or contractor to see what was found without relying solely on a verbal description.
This is especially valuable on older roofs, properties with extensions or multiple roof levels, and buildings where flashing, valleys, rooflights, parapets or chimneys create several possible routes for water ingress. A professional may also use drone imagery to examine high or inaccessible sections, although close inspection may still be needed to assess specific defects properly.
Super Roof Inspector provides roof-focused reports designed to set out findings in plain language, with photographic evidence and practical recommendations. For a claim, that level of clarity can help separate urgent temporary protection from the permanent repair work that needs to be priced and approved.
Show the difference between damage and wear
Insurers commonly review whether a roof was in reasonable condition before the reported event. That does not mean an older roof cannot be insured, but it does mean the evidence should be honest and precise. A report that records both recent damage and pre-existing wear is more credible than one that attributes every defect to a single storm.
For example, a storm may have dislodged several slates and opened a route for water to enter, while adjacent areas show older slipped slates or worn mortar. The claim may depend on the new damage, while maintenance remains the owner’s responsibility. Similarly, damage caused by a falling tree limb may be easier to link to a specific event than a slow leak around ageing flashing.
Do not alter dates, discard maintenance records or rely on contractor language that overstates what can be proven. If you have photographs from before the event, previous roof reports or invoices for maintenance, include them. They may help demonstrate the roof’s earlier condition and show that issues were addressed responsibly.
Obtain estimates that match the evidence
Once the insurer permits permanent repairs or has inspected the damage, obtain a written scope and estimate from a suitably qualified roofing contractor. The estimate should separate temporary works, repair work and any optional upgrades. It should identify materials, access requirements, affected roof areas and VAT.
Be cautious if an estimate jumps immediately to full replacement when the documented damage is localised. Full replacement can be the right recommendation where the roof covering has reached the end of its serviceable life or where matching repairs are not feasible, but it should be supported by the roof’s overall condition. Equally, a small patch may not be a durable solution if surrounding materials are failing.
If the insurer’s proposed scope appears to miss documented damage, respond calmly with the relevant photographs, report sections and contractor estimate. Ask specific questions rather than making broad objections. For instance, request confirmation of how a damaged valley, flashing detail or rooflight has been allowed for in the proposed works.
Avoid mistakes that weaken a roof claim
The most common problem is delay. A minor leak can become more disruptive after several days of rain, while evidence of wind damage can change as loose materials shift or temporary repairs are installed. Prompt reporting and good records protect both the property and the claim.
Other avoidable mistakes include relying only on interior photographs, disposing of damaged materials before they are documented, paying for major works without approval, and accepting a verbal diagnosis without supporting evidence. It is also unwise to let an emergency contractor carry out broad replacement work simply because access equipment is already in place. Secure the roof first, then make permanent decisions with the evidence in front of you.
A well-prepared claim does not need dramatic language. It needs a clear timeline, careful photographs, sensible mitigation, accurate roof findings and costs that relate to the proven damage. That gives you a firmer basis for speaking with your insurer and a clearer path towards getting the roof properly protected.